
Lath and Plaster
Contents
Mike Kobeissi’s work covers building, selling, remodeling and buying, with guidance on staging and renovation and design, and behind the paint of a prewar room there is usually plaster rather than board. The wall was built in stages. First a carpenter or the plasterer nailed rows of rough wooden strips, the lath, across the open studs with small gaps between them. Then the plasterer troweled on a wet first coat hard enough that it pushed through those gaps and curled over the back of each strip. That overflow hardened into keys, which locked the coat to the wall. A second coat flattened and plumbed the surface, a thin third coat gave it a smooth finish, and only after days of curing could the wall be primed and painted. The Spruce lays out the same sequence and notes that the whole job took several days because thick plaster cures slowly.1
Building a lath and plaster wall
- LathNail rough wood strips about 1 inch wide and 4 feet long across the studs, roughly a finger width apart.
- Scratch coatTrowel the first coat hard into the lath so it pushes through the gaps.
- KeysLet the plaster that squeezed behind the lath harden into keys that grip the wall.
- Brown coatApply the second coat to flatten the wall and bring it plumb.
- White coatFinish with a thin smooth coat, then prime the porous surface before paint.
Lath, keys and three coats
Descriptions of the lath vary a little. The Spruce gives strips about 1 inch wide and 4 feet long, spaced roughly a finger width apart, sometimes replaced by a metal grid.1 A column in MLive describes lath about a quarter inch thick and an inch and a half wide, spaced about a quarter inch apart, carrying two or three coats.4 This Old House notes that into the twentieth century plaster went over wood lath set half an inch or so apart, with finish coats added only after the base had dried.2 The coats have traditional names: scratch, brown and white or finish. The scratch coat forms the keys, the brown coat straightens the wall, and the finish coat takes paint or wallpaper.1 Lath was ripped from lower grade wood, so long clean strips were not always available, and because most plasterers could nail lath themselves a single crew often did the whole wall. The same keys that hold the plaster up make it hard to tear down later.1
What the plaster was made of
The recipe changed over three centuries. Michigan Home and Lifestyle reports that lime, sand, sometimes ground oyster shell and animal hair made up plaster in America until the early twentieth century, and that the earliest colonists brought the English cottage method of daub and wattle, a clay and grass plaster pressed onto woven sticks.5 The lath changed too: steel mesh lath appeared in the late 1800s and rock lath, a plasterboard base, in the 1930s.5 Sources disagree on the hair. MLive places horsehair in the first coat as reinforcement, while the Michigan magazine reports finding it in every layer of historic walls, a forerunner of the fiberglass used in modern mixes.45
The International Masonry Institute explains the chemistry. Lime plaster of non hydraulic lime, sand and hair was common until the nineteenth century; gypsum plaster, which sets faster and harder but needs full protection from moisture, became popular afterward; and cement plasters such as Keene’s were used where strength mattered.8 Ornamental work was cast in molds or run in place with templates, and specialty plasters such as scagliola imitated stone between the seventeenth and nineteenth centuries.8 This Old House’s account of an 1865 Charlestown house adds that lime crystallizes slowly, stays flexible and resists water, so that maintained lime plaster can improve with age.3
Plaster and drywall compared
| Lath and plaster | Drywall | |
|---|---|---|
| How it arrives | Mixed and applied wet on site | Made and cured in a factory, hung dry |
| Thickness | Usually thicker, with gentle ridges and dips | Consistent sheet thickness |
| Sound | Blocks more sound than standard half inch drywall | Ordinary sheets block less |
| Strength | More than seven times the compressive strength | Lower |
| Cost to build | Cheap materials, costly skilled labor | Inexpensive and quick to hang |
How plaster differs from drywall
Drywall is made and cured in a factory and hung dry; plaster is mixed and applied wet. The Spruce lists the consequences: plaster walls are usually thicker, block more sound than ordinary half inch drywall, insulate slightly better, and have more than seven times its compressive strength, but they cost more to build because the labor is skilled.1 Plaster also hides the framing. The MLive column points out that a plasterer could thicken the coat here and thin it there to make a straight wall over crooked studs, while drywall simply follows the framing, bows and all.4 That flexibility is also why a hand plastered wall shows gentle ridges and dips that a sheet wall does not.1
Why plaster cracks and sags
Plaster is brittle and the wood behind it moves. MLive describes keys breaking off over time, which lets ceilings sag, and cracks forming as framing swells and shrinks with temperature and humidity.4 The Spruce’s crack guide treats hairline and spiderweb cracks as benign, bulges as a sign that layers have separated, stains as a sign of water, and cracks a quarter inch or wider, especially stair step cracks or doors that stop closing, as signs of structural movement.6 The Michigan magazine sets its threshold lower, at cracks wider than three sixteenths of an inch or cracks whose sides no longer line up, and sends those to a foundation specialist before any plastering.5 The Masonry Institute names moisture as one of the most common sources of deterioration and advises fixing the cause before the crack.8 In the Charlestown house, traffic vibration had separated a ceiling from its lath, and old calcimine paint under modern coats was making the finish peel.3
Repair methods
Repair starts by reattaching what is loose. In Charlestown the plaster was drilled, injected with adhesive under pressure and clamped with screws and washers until the bond set; cracks were then filled with a soft lime and gypsum mix.3 For holes, This Old House recommends refastening the lath, wetting the old edge with conditioner, and building scratch and second coats with a softer, slower setting lime based plaster, warning that hard patching plaster from home centers sets too fast and is harder than the original.2 Its plasterers add two habits of the trade: plaster always goes into the water, never water into the plaster, and a textured wall is matched by patting the last coat with a natural sponge instead of sanding it smooth.2 Ornament gets its own treatment; the Charlestown medallions were stripped, molded and recast, and new cornice was run in place to the old profile.3 The New Hampshire Preservation Alliance published a four step gypsum method from a master plasterer and cautioned that traditional lime repair is best left to an experienced tradesperson.7 Michigan Home and Lifestyle likewise leaves ceilings, water damage and large holes to professionals.5 The Masonry Institute’s rule for all of it is to match each layer in texture and composition.8
A four step gypsum plaster repair
- Expose and glueOpen cracks to a V, remove loose plaster to sound material, clean, and brush on bonding agent.
- Base and meshFill with a base coat, embed mesh in larger repairs, keep it slightly recessed, and let it dry a day.
- TopcoatTrim the mesh and bring the patch flush, then wait another day.
- FinishApply several thin finish layers, compressing each with the trowel.
Gutting as a last resort
Tearing plaster out is the option every source here treats with suspicion. The MLive column calls gutting a remote last choice: tons of dusty debris, exposed framing too uneven for new board, and old trim that has to come off and rarely goes back well. It suggests drywall screwed and glued over a sagging ceiling, or a plain liner paper over cracked walls, so the plaster and trim stay put.4 The Spruce confirms that drywall can be screwed through sound plaster into the studs, with the caveat that trim, outlets, switches and door casings then have to be brought forward to the new face.1 This Old House’s plasterer called interior plaster the historic material most at risk in the country.3 That view follows the Secretary of the Interior’s Standards, which favor repair, and it parallels the case for keeping historic wood windows. How much of a given wall to save is a question for a plasterer who has seen it and for the owner’s own advisors.
The oldest layer of this story points somewhere else. Daub, the plaster of the first colonial walls, was clay, water, soil and grass pressed onto a frame.5 Remove the frame, shape much the same earth into blocks and dry them in the sun, and the result is the material of California’s earliest houses, described in the entry on adobe construction.
References
- The Spruce. Lath and Plaster Walls: Basics and Construction.
- This Old House. How To Fix a Hole in Lath and Plaster Walls, 2011 12 21.
- This Old House. Preserving Historic Plaster, 2002 01 18.
- MLive. Should I replace old plaster with drywall?, 2007 09 16.
- Michigan Home and Lifestyle. Old Plaster Walls?, 2021 12 03.
- The Spruce. How to Repair Cracks in Plaster Walls.
- New Hampshire Preservation Alliance. Historic Preservation DIY: Plaster Wall Repair, 2023 06 05.
- International Masonry Institute. Plaster Restoration, 2023 02 16.
External links
See also
-
 Old Houses and Preservation
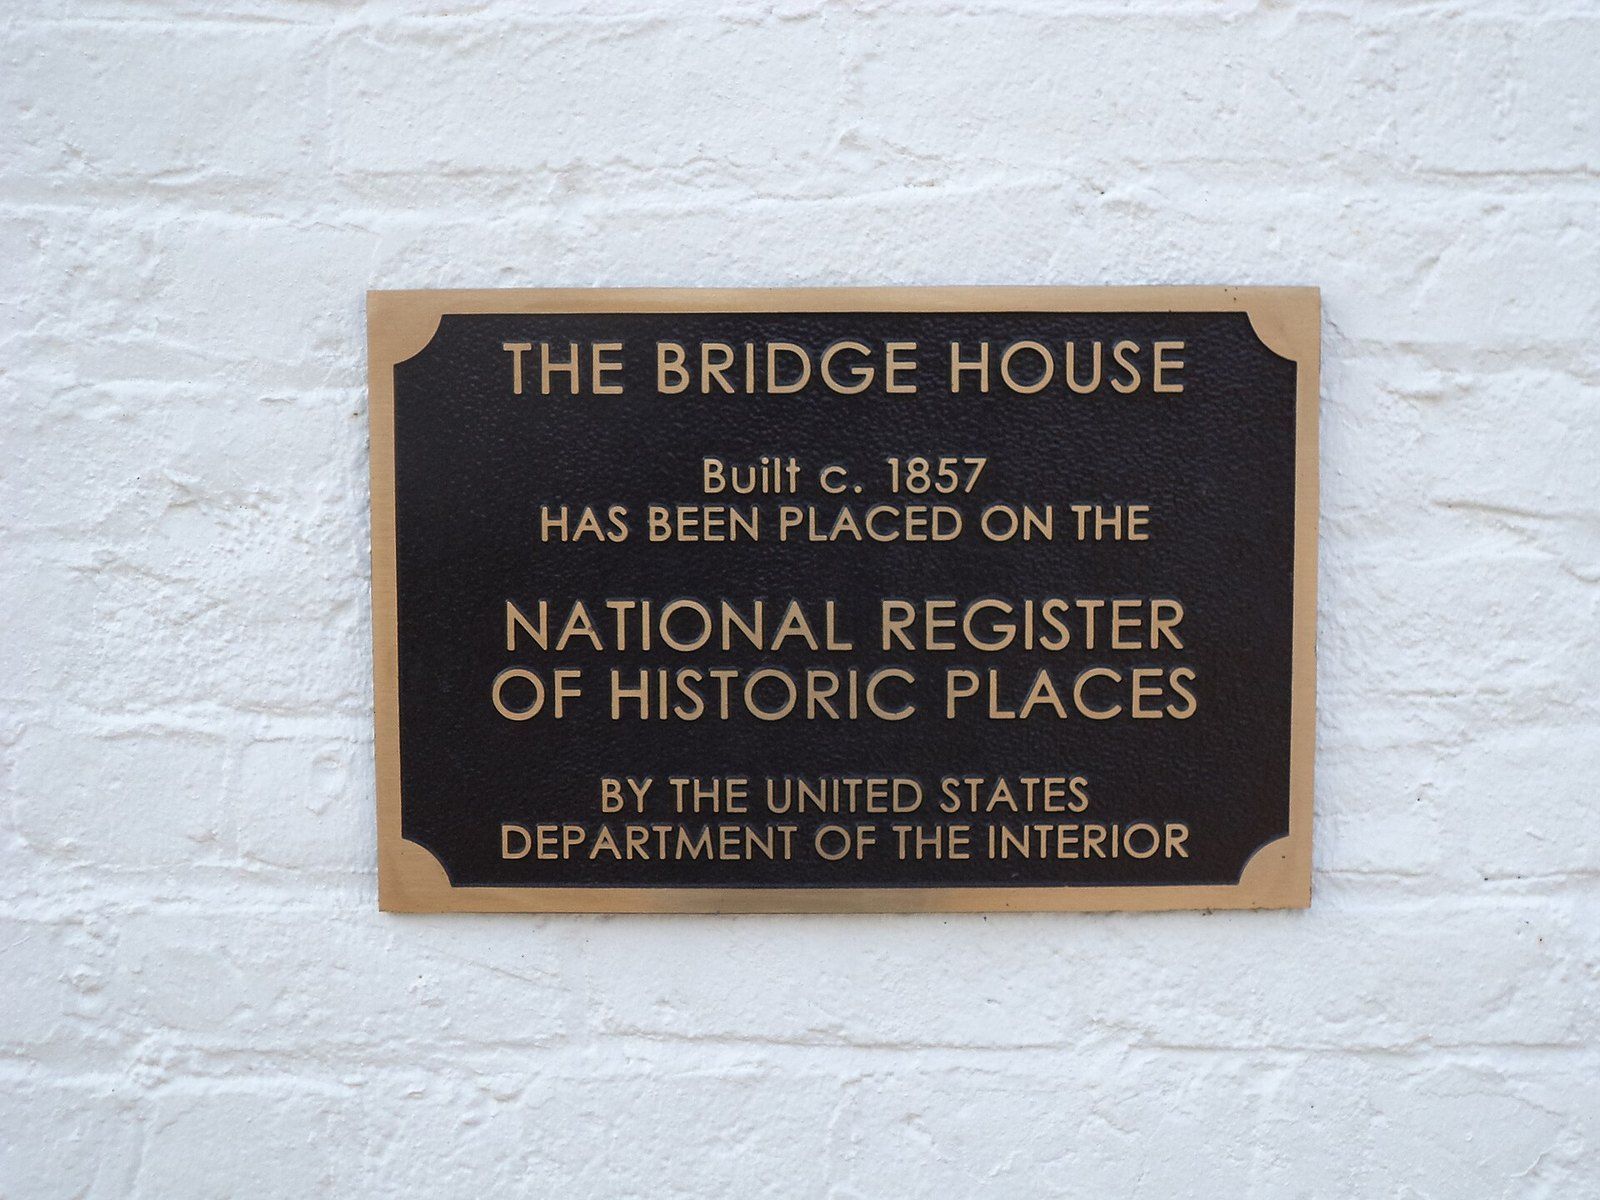
The National Register of Historic Places
The federal roll of places judged worthy of keeping, and the incentives that follow a listing.
-
 Old Houses and Preservation
The Secretary of the Interior's Standards
A short federal text that shapes how old buildings across the country are repaired, altered and added to.
-
 Old Houses and Preservation
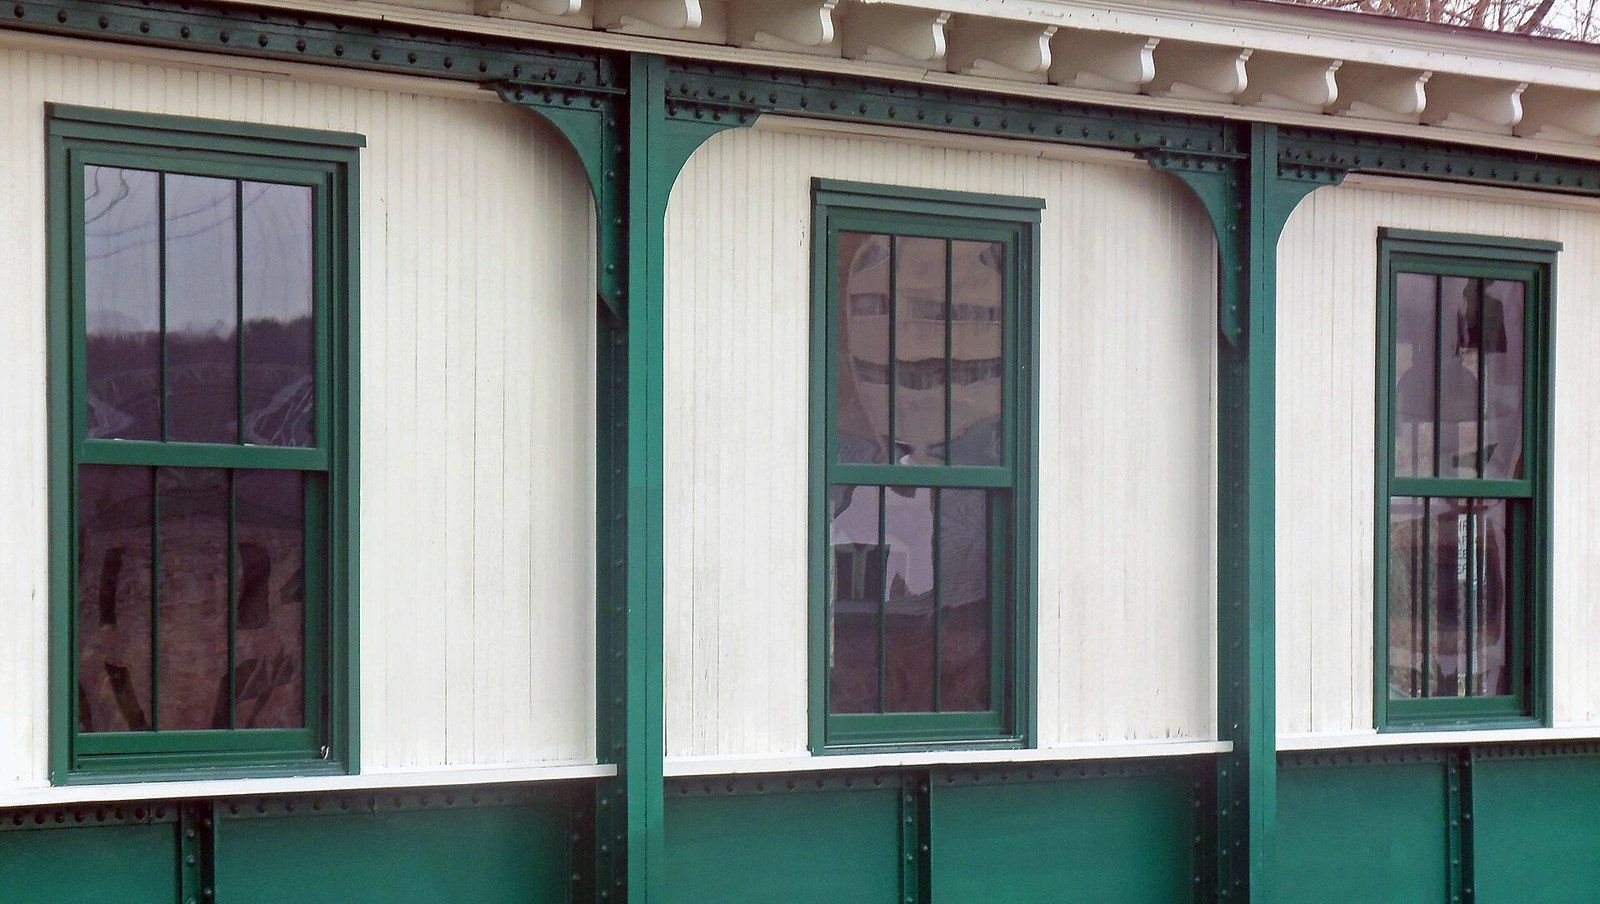
Historic Wood Windows
Rope, pulley and dense lumber: the case for mending original sash rather than tearing it out.
-
 Old Houses and Preservation
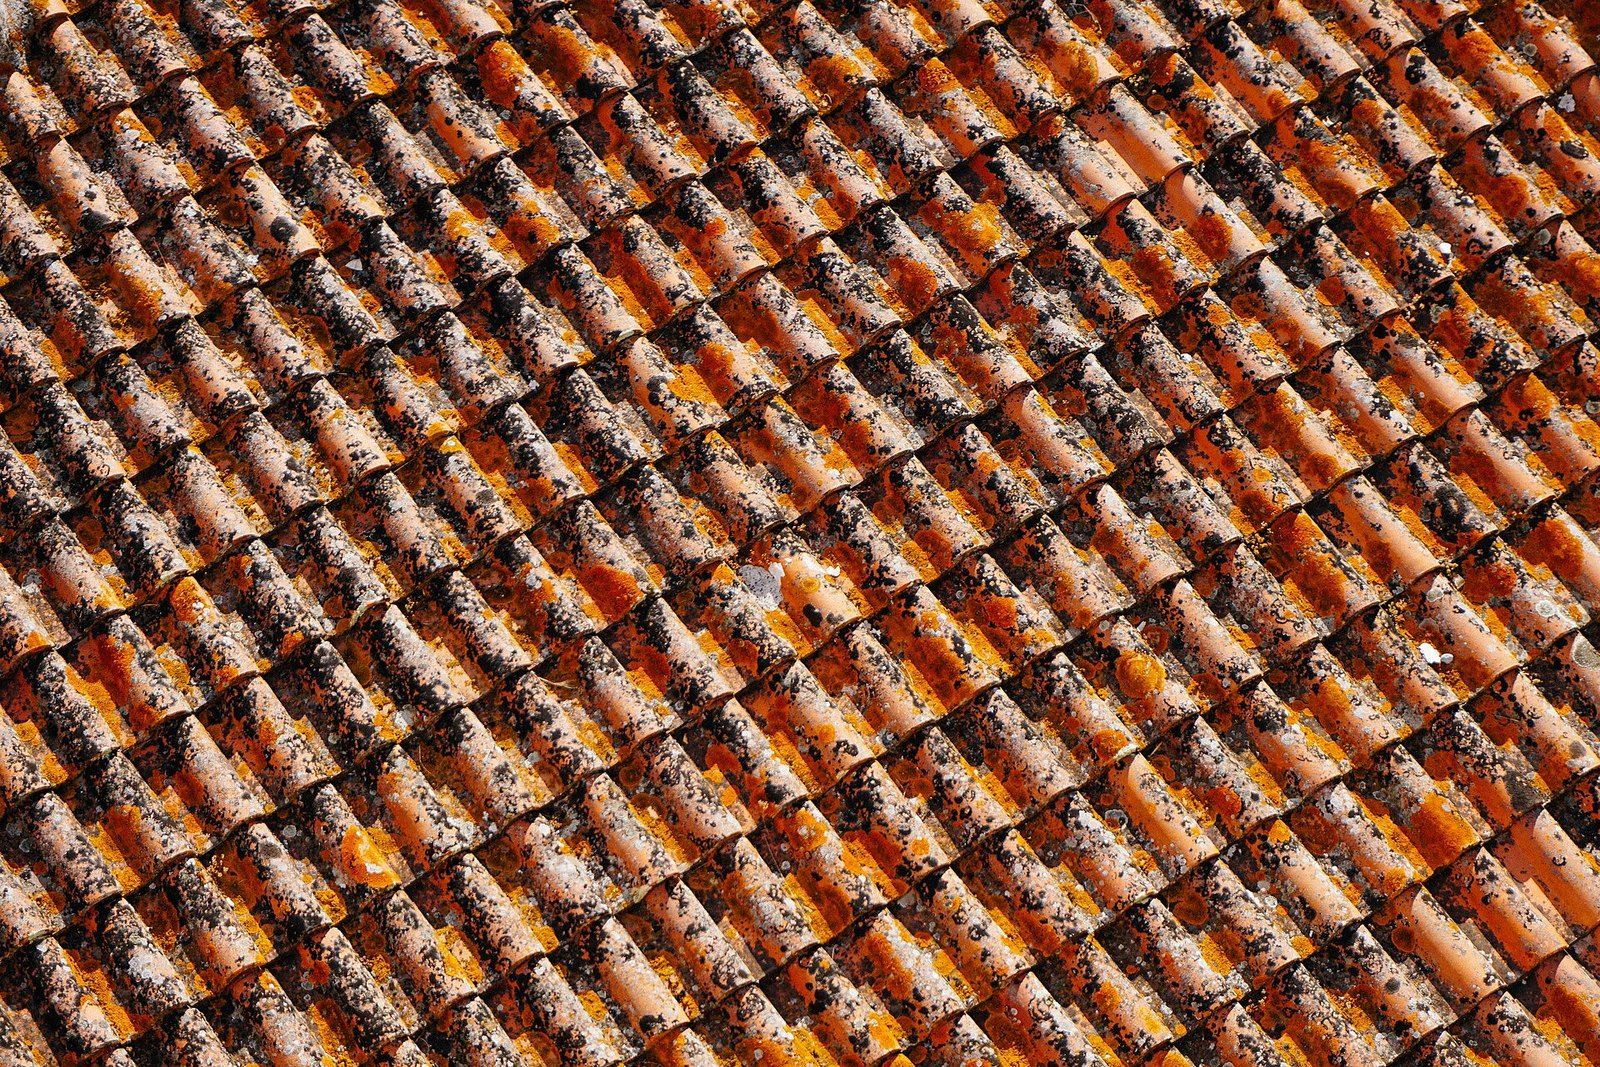
Clay Tile Roofs
Kiln baked earth laid in overlapping courses, one of the longest lived coverings a house can carry.
-
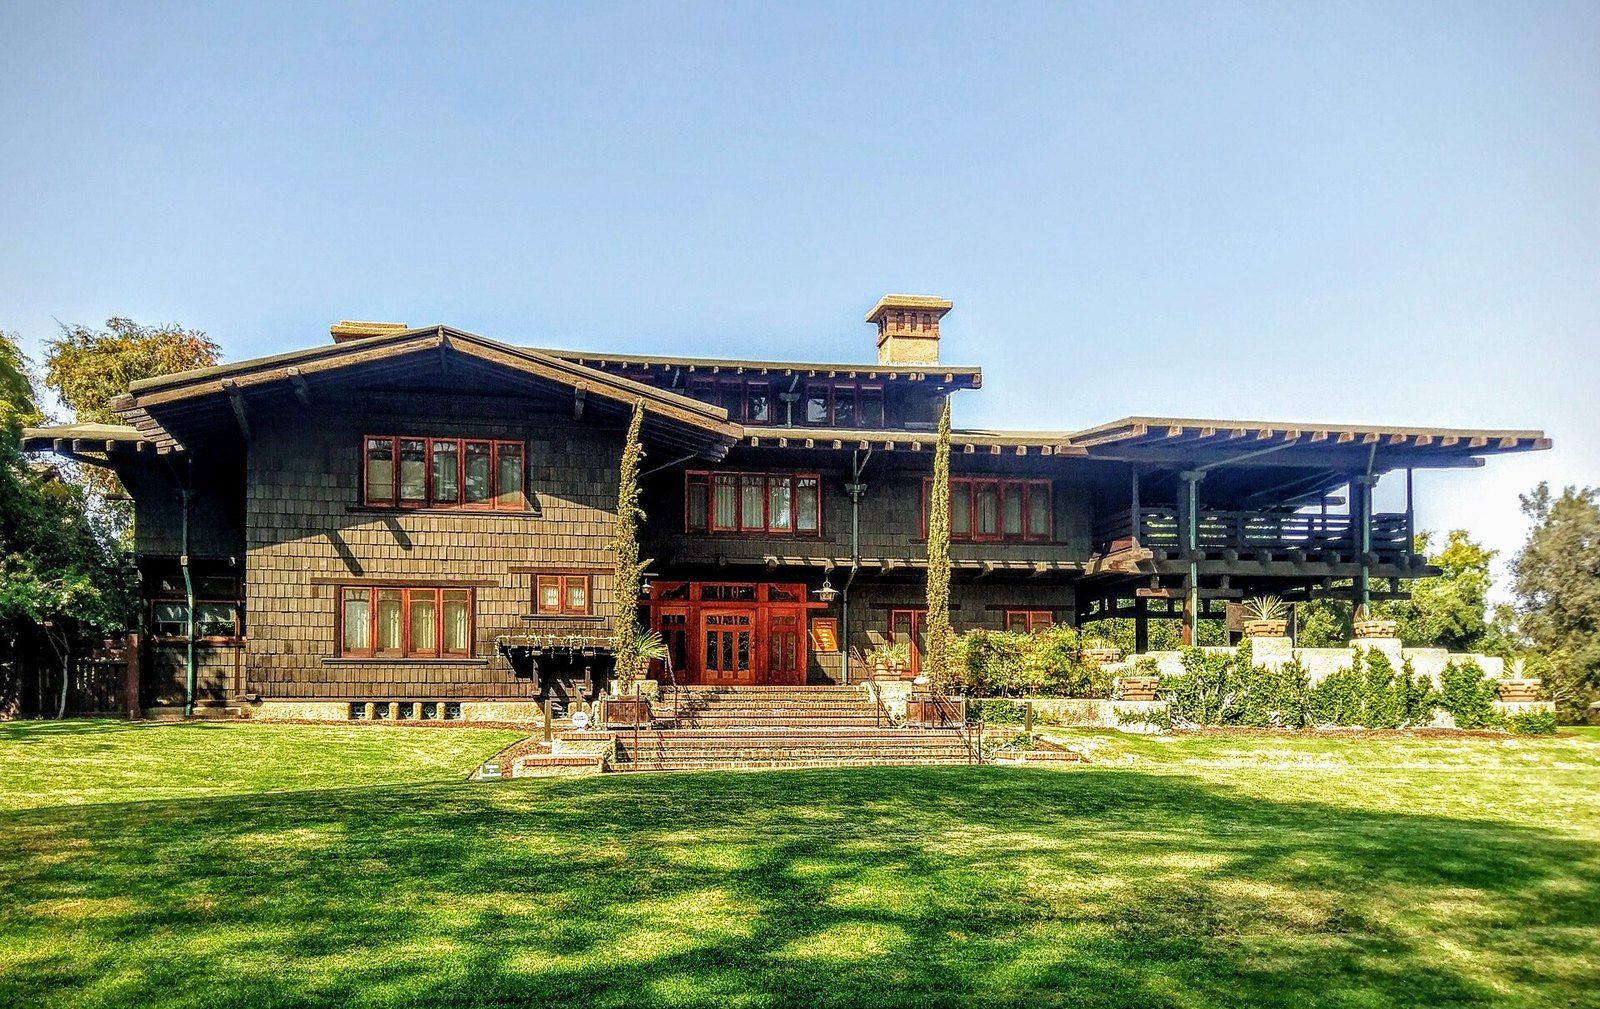 Architects of the Foothills
Greene and Greene
Two brothers, a boomtown and a house of teak, fir and cedar that its admirers call a symphony in wood.